Using Records Page
|
In IFS Cloud Web, record pages serve as a way to show a detailed and organized view of information connected to a chosen record. These pages have different sections or tabs that hold details like contact info, transaction history, linked documents, and other important data. The term Record; can refer to various entities like a customer, vendor, employee, sales order, purchase order, or any other kind of data that the system handles. Users can interact with the record page to view, edit, or update information related to the specific record. |
|
The primary actions associated with a records page are located in the Page Commands Bar. These commands are unique to each page and are configured by the system administrator. Additionally, you can manage attachments associated with the record. This means you can easily interact and control various aspects of the information linked to the record for effective data management. Click on each button below to learn more about some of the common commands associated with Records Pages.
|

|
|
Add Record |
|||||||||||
|
A. |
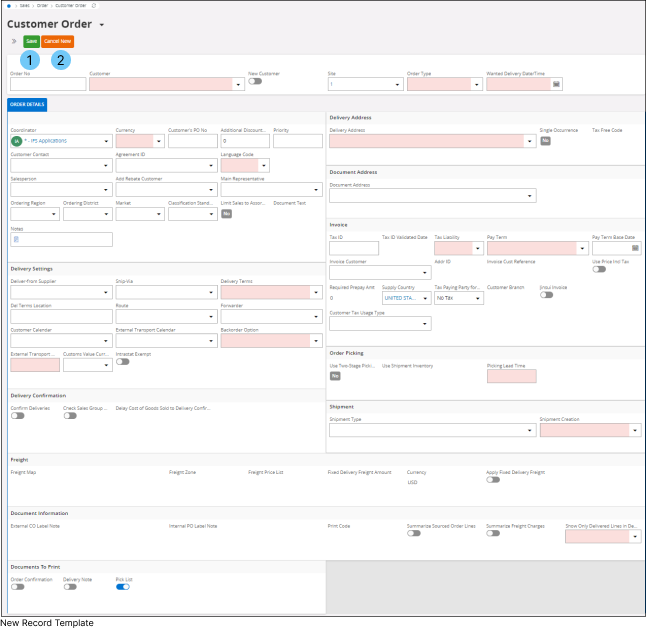
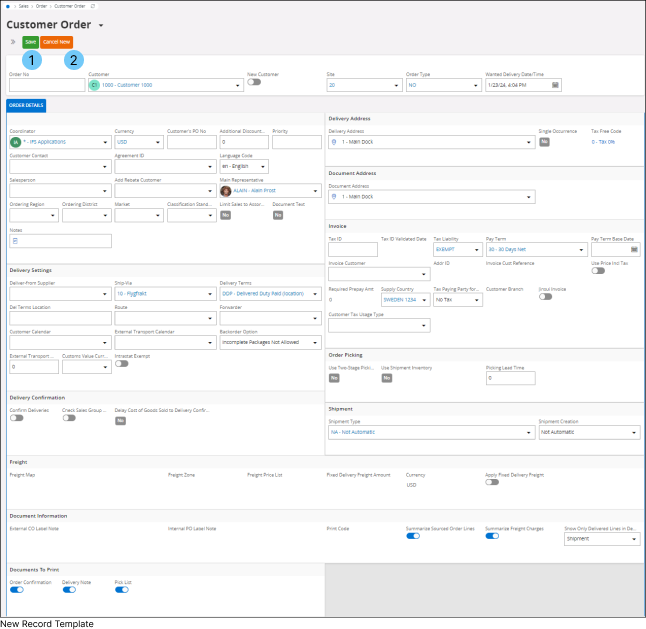
Add a new record to the records page by clicking the Add Record(B) button. Once you click the Add Record button it will open up the record for you to fill up all the necessary details.
|
|||||||||||

|
|
Duplicate Record |
|||||||
|
B. |
Duplicate one of your existing record by clicking the Duplicate Record(C) button. Once you click the Duplicate Record button it will open up an editable version of the record you wish to duplicate.
|
|||||||
|
|
Edit Record |
|||||||
|
C. |
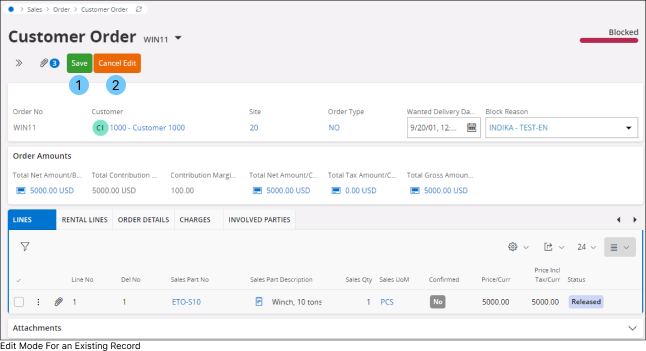
Edit your existing record by clicking Edit Record(D) button. Once you click the Edit Record button it will open up the record form in editable format. You will only be able to edit the fields that are editable.
|
|||||||
|
|
Subscribe / Create Task |
|
|
D. |
Please refer to Subscriptions and Task sections for more details. |
|